
As browser security increases in 2021 it’s gotten a lot harder to install a self-signed cert on your local dev server and get a nice pretty dark gray lock (I kinda miss the green). It’s very important, especially if you are working with web workers and javascript. Web browsers are continually tightening down the security and you no longer even accept TLS 1.0 and 1.1 anymore, so keep those certs and virtual host configuration and web server SSL settings up to date! This is something you have to do every time you work on a new domain and you won’t have a cool tool like Letsencrypt and Certbot to use because they do a round trip on the server which it means it has to be publically exposed and available online which is something you should never do with your local development server. Since it took all day to figure it out I thought I’d write an article on it.

The process is pretty straightforward.
- Generate a key and certificate with Openssl.
- Specify the key and certificate in your Web Servers configuration file
- Restart web server
- Export certificate from browser
- Import that certificate into the browser
- Restart the browser
I set this up on my Windows machine with Git Bash and Openssl running Apache Web Server and using Chrome as my browser, but the steps are the same if you are using a Linux machine, and the web configuration will change if you are using a different web server or depending on where you put your website or generated your cert/key. The web server will always have a way to specify a key and certificate for https.
One of the major changes I had to do that I didn’t have to do before was use a configuration file for openssl. You can find it here at minimal.cnf and it looks like this:
prompt = no
distinguished_name = req_dn
x509_extensions = x509_ext
[ req_dn ]
commonName = www.websitedomain.local
[ x509_ext ]
subjectAltName = @alt_names
[alt_names]
DNS.1 = www.websitedomain.local
DNS.2 = websitedomain.local
minimal.cnf file (change commonName and DNS.1 and DNS.2 to your local domain names…I believe you can also specify an ip as IP.1 if you want under alt_names)
The openssl command is as follows….once again, change the names to something appropriate for your website…these are the files that are referenced in your virtual host file. I set it to be good for less then 3 years because I believe there is some sort of max for security reasons, at least in Chrome.
openssl req -newkey rsa:4096 -x509 -sha256 -days 1000 -nodes -out www.websitedomain.local.crt -keyout www.websitedomain.local.key -config minimal.cnf
My Apache configuration file for this virtual host in httpd-vhosts.conf looks like this:
<VirtualHost *:443>
    ServerAdmin [email protected]
    DocumentRoot "C:/websites/www.websitedomain.local/public_html"
    ServerName www.websitedomain.local
    ServerAlias websitedomain.local
    ErrorLog "logs/www.websitedomain.local-error.log"
    CustomLog "logs/www.websitedomain.local-access.log" common
    DirectoryIndex index.php index.html index.htm
    SSLEngine on
    SSLCertificateFile "C:/websites/www.websitedomain.local/ssl/www.websitedomain.local.crt"
    SSLCertificateKeyFile "C:/websites/www.websitedomain.local/ssl/www.websitedomain.local.key"
    <Directory "C:/websites/www.websitedomain.local/public_html">
        AllowOverride All
        Options  Indexes FollowSymLinks Includes ExecCGI
        Require all granted
    </Directory>
</VirtualHost>
Don’t forget to make sure your hosts file has an entry for your local website domain.
127.0.0.1 www.webmastedomain.local
[Of course change “websitedomain” to the domain you want to setup and access the website through…it’s arbitrary, but needs to be consistent…make sure it’s the same in the configuration file minimal.cnf, hosts file, virtual hosts file and in the url you are trying to access the website through.]
Now comes the tedious part where you export the certificate through the browser and then import the slightly modified certificate as a Trusted root certificate.
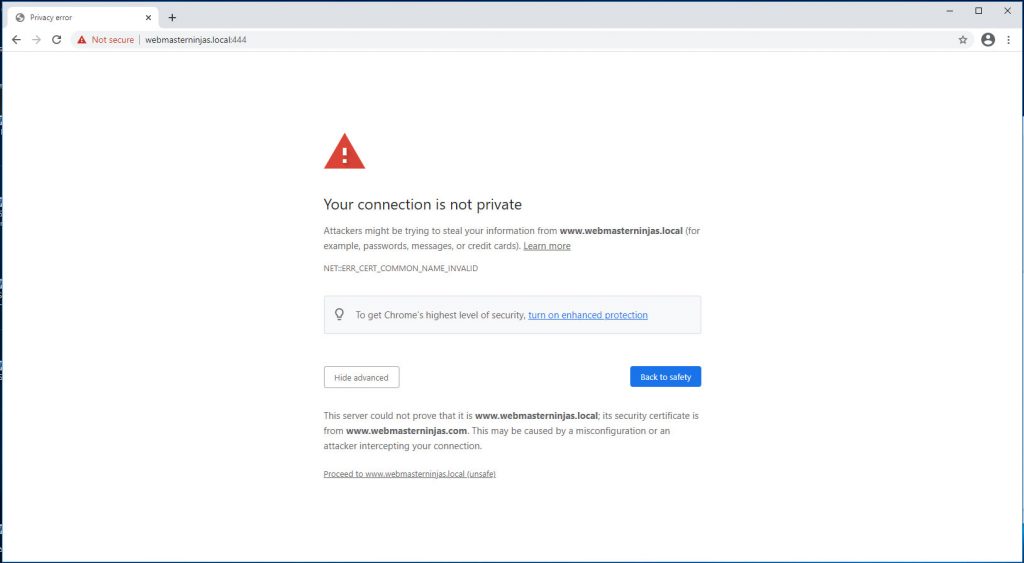
Privacy error with not secure self-signed cer
t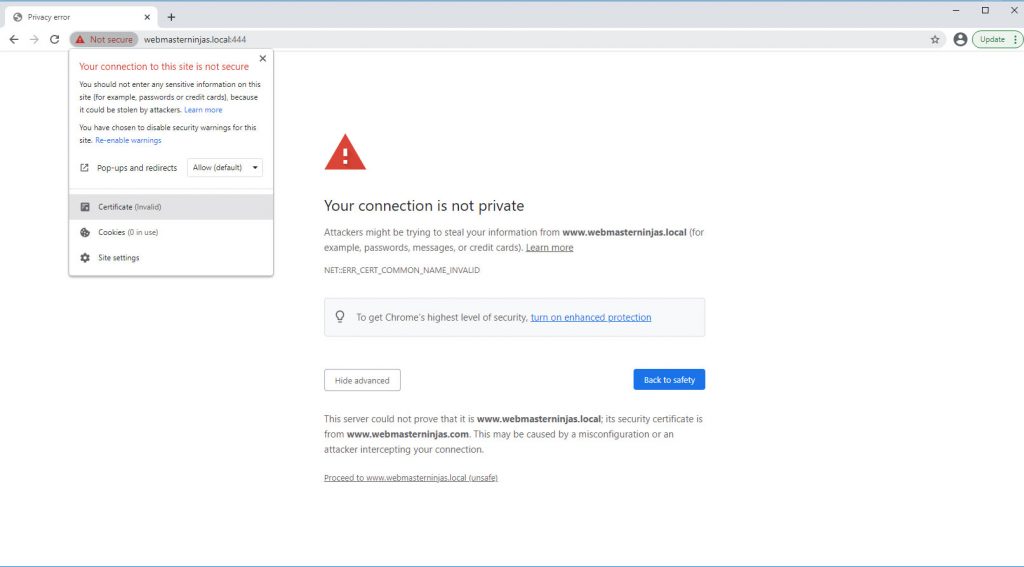
Export Self-signed Cert 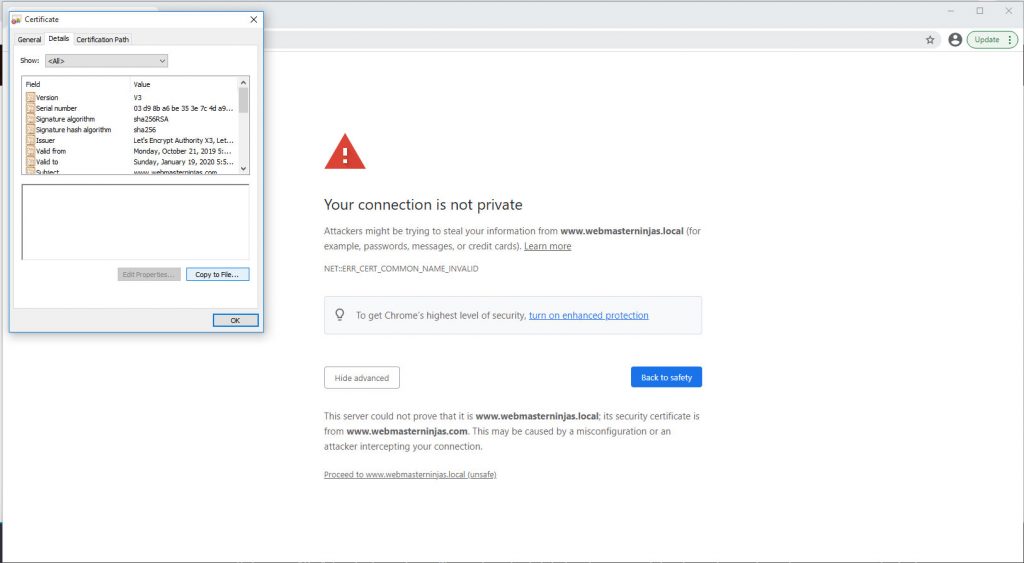
Certificate Details Tab 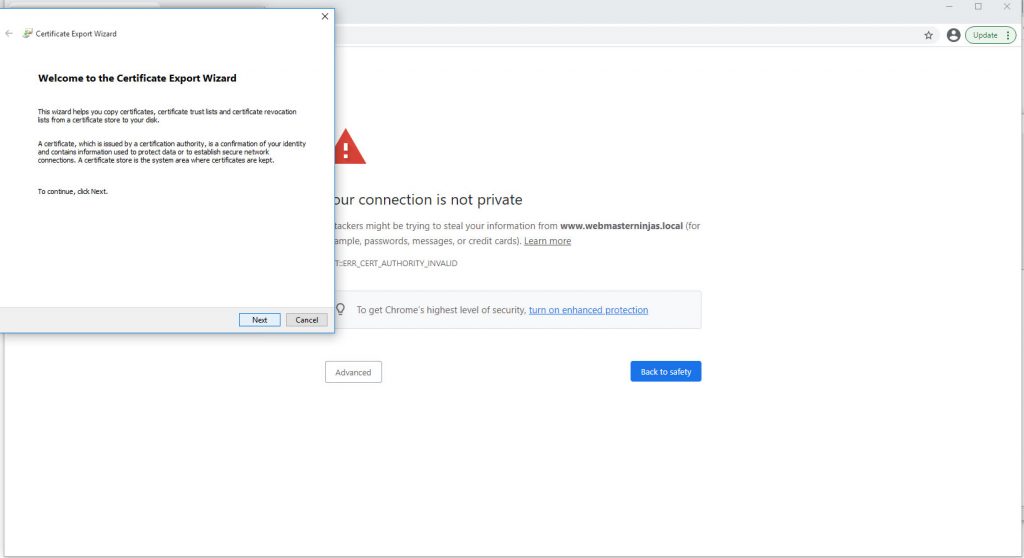
Chrome Certificate Export Wizard 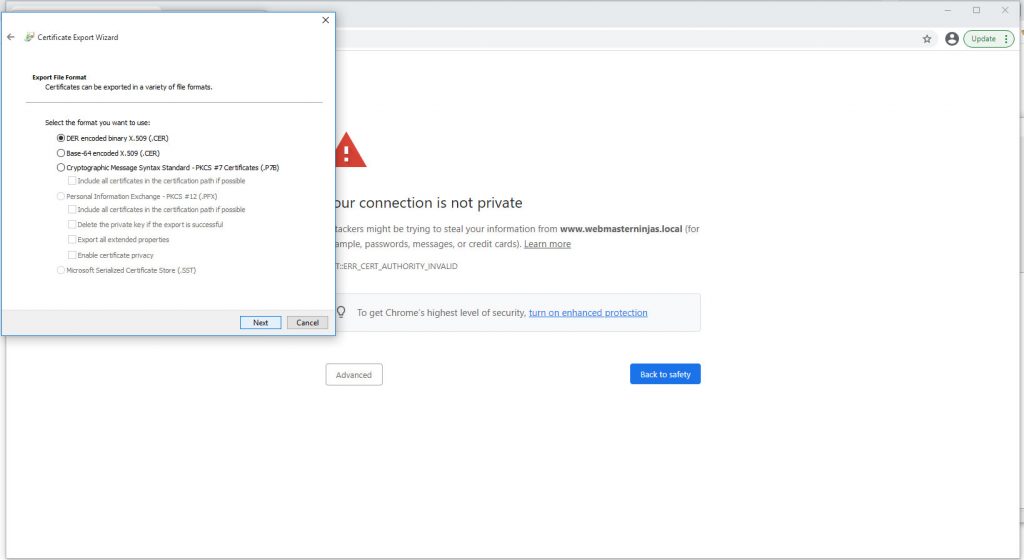
Use first Der format for Cer file 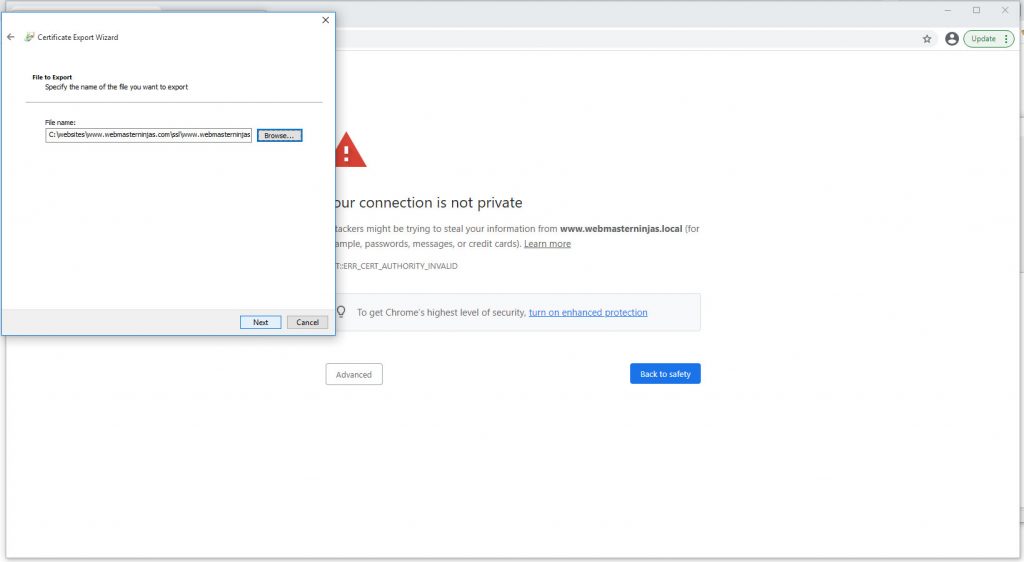
Export to where you will import from 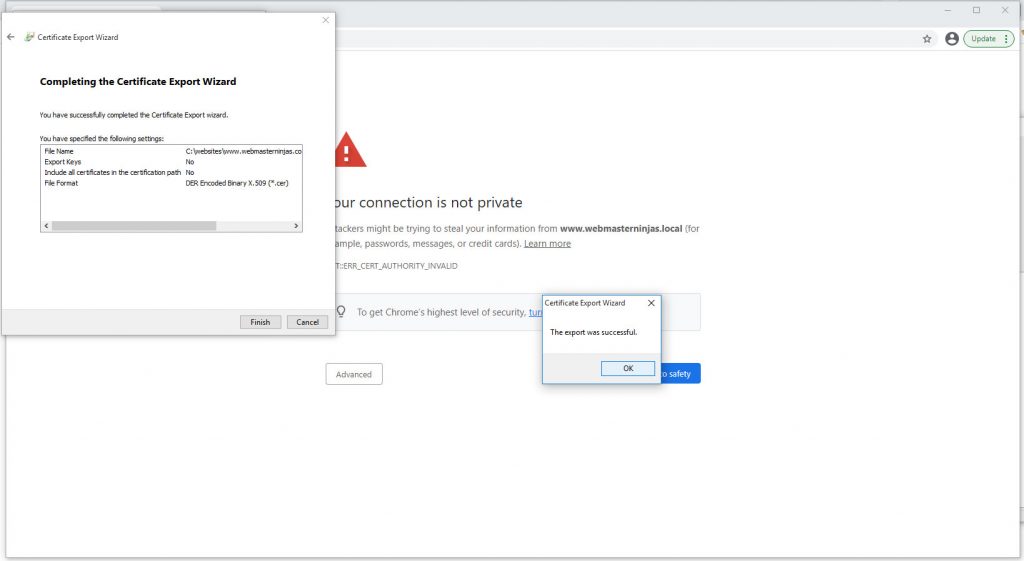
Successful certificate export 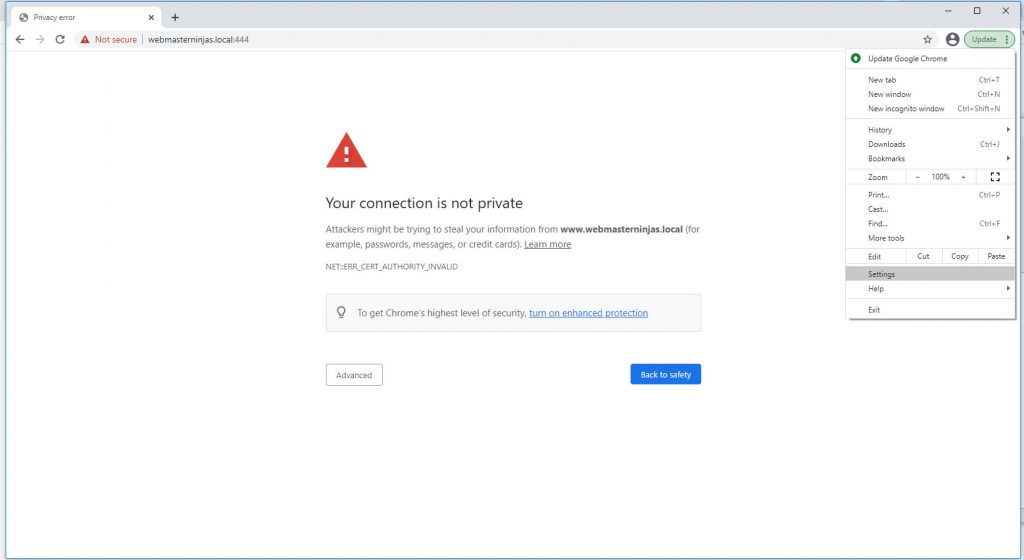
Go to Chrome Settings 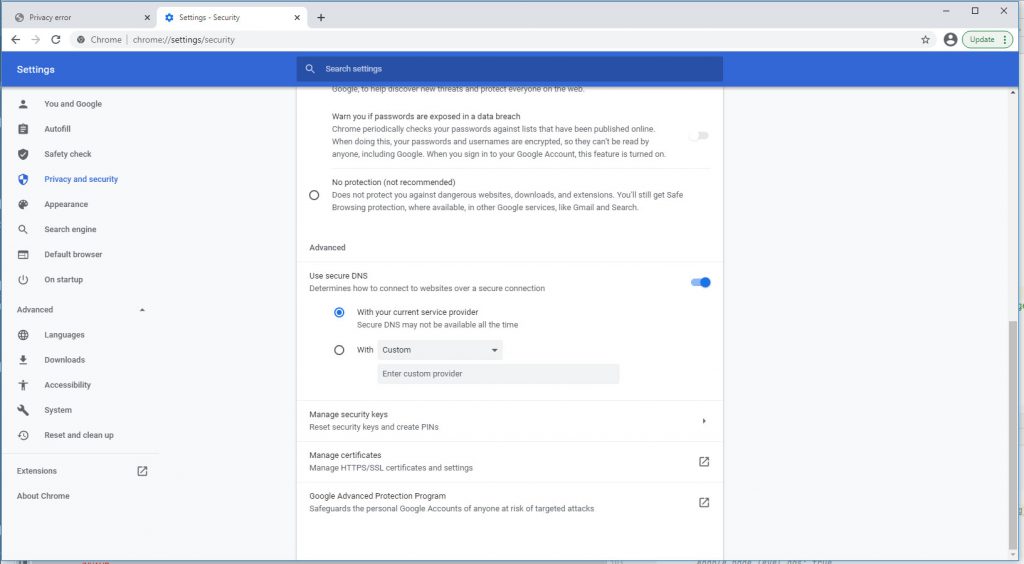
Under advanced security click manage certificates 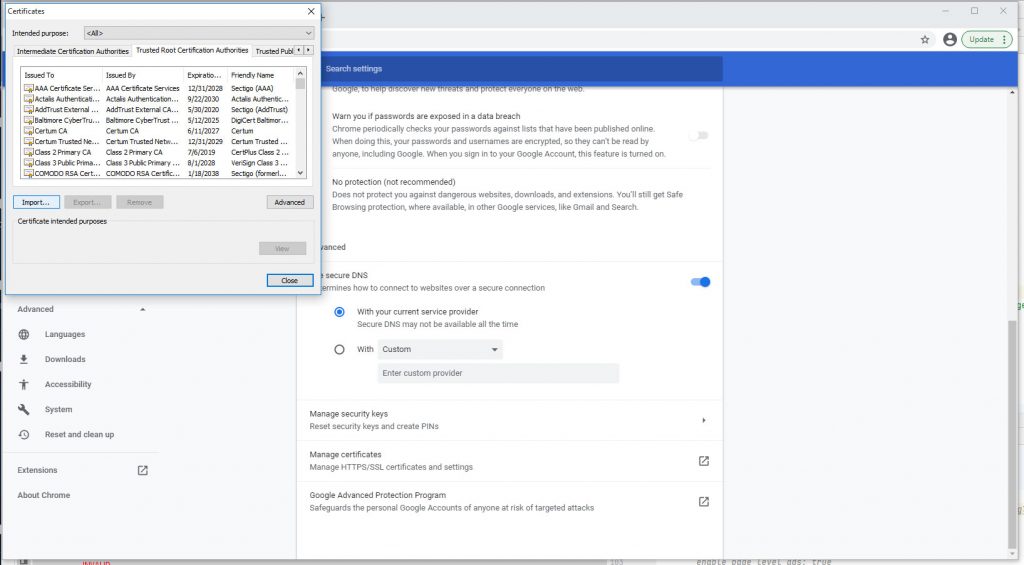
Under Trusted Root CA tab click import 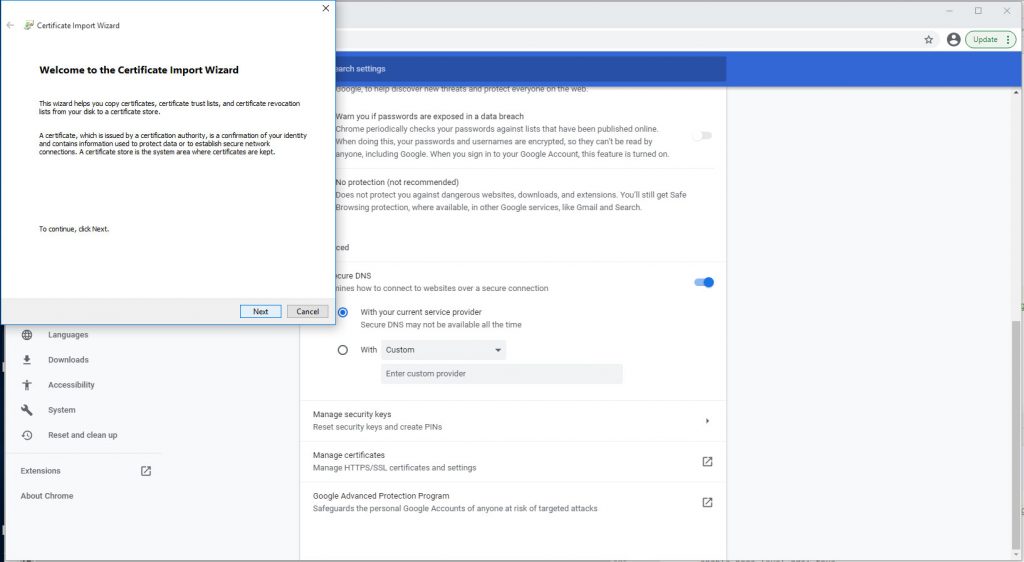
Chrome Certificate Import Wizard 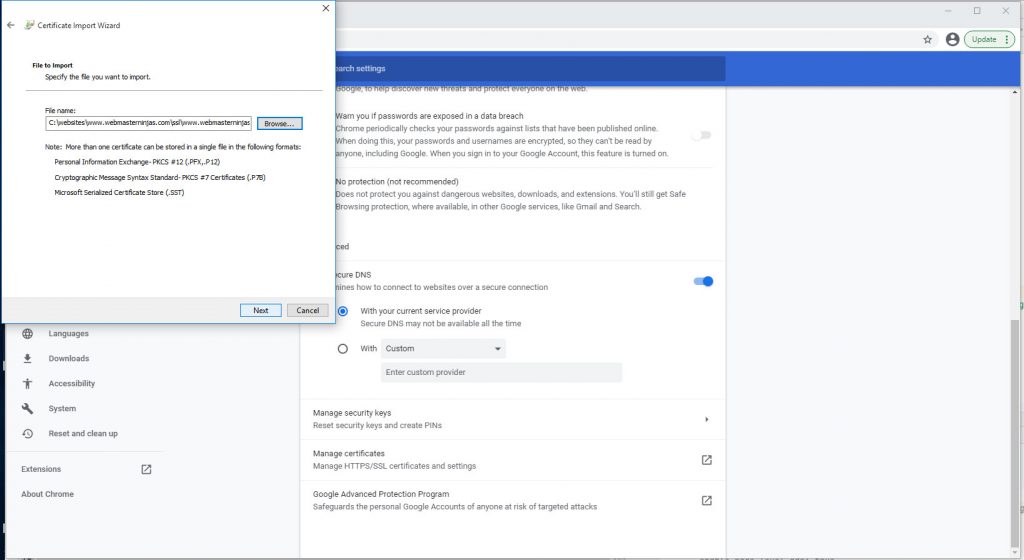
Import cert file we just exported 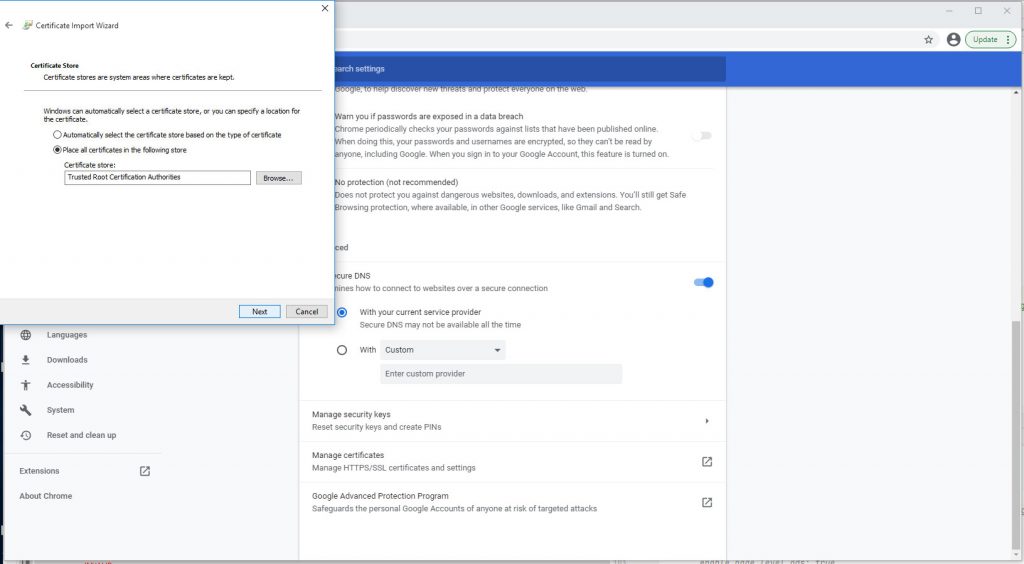
Click through to place cert 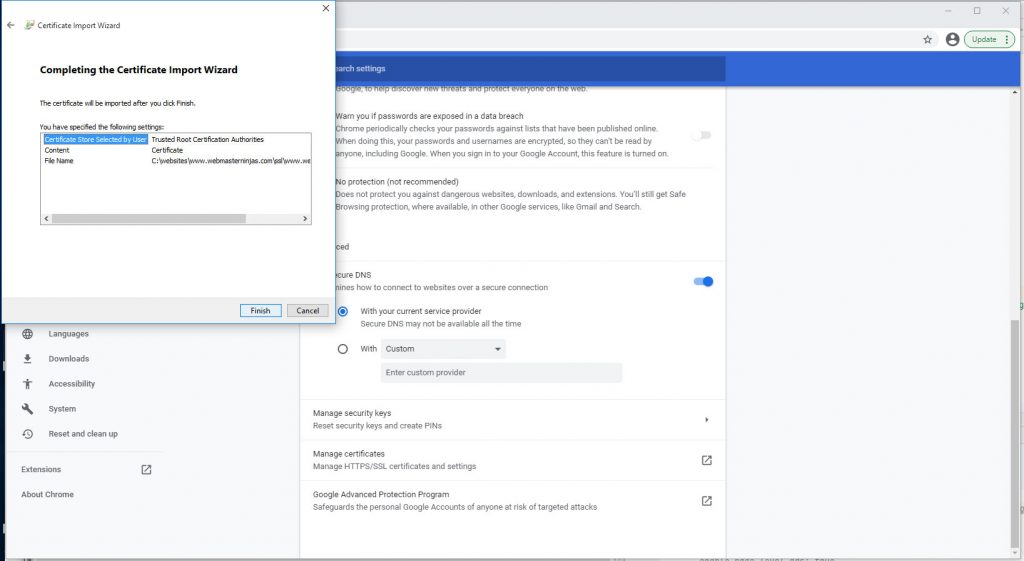
Click Finish 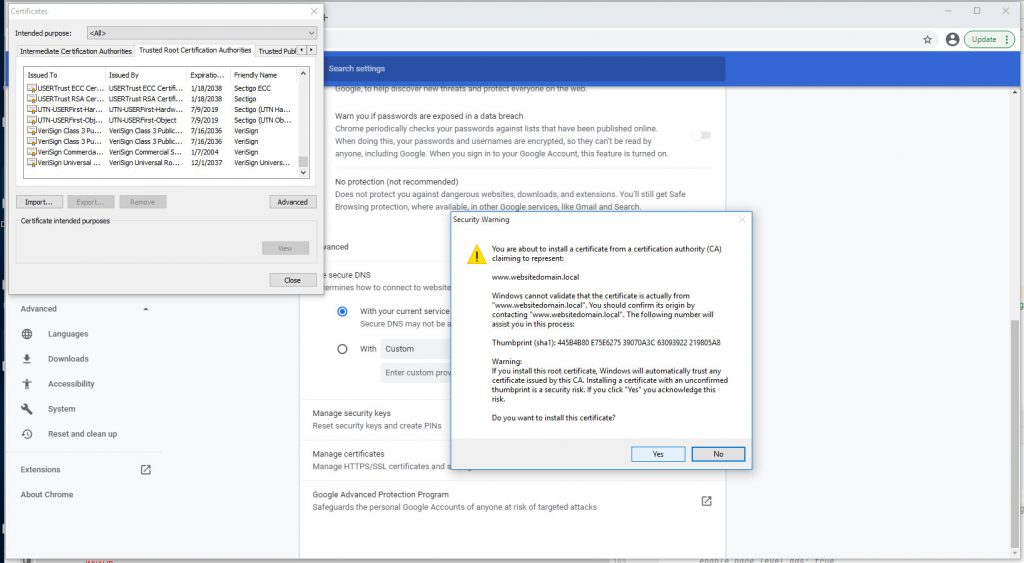
Click through Security Warning window 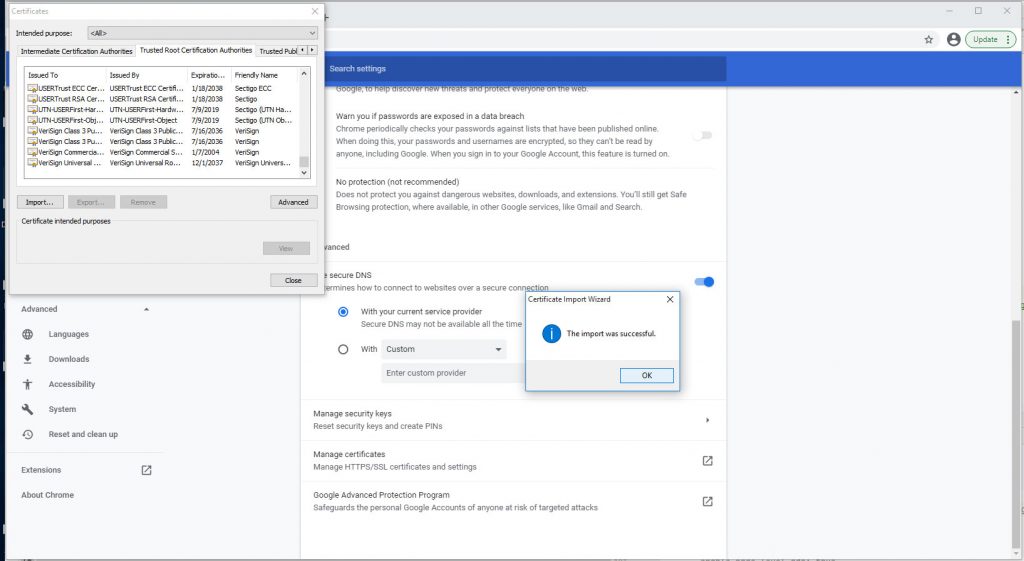
Successful import of Self-Signed Certificate into Trusted Root CA
And finally, don’t forget to close and reopen your browser before checking the url and it should be good for 1000 days! You can try longer, but I don’t recommend it since security requirements change all the time with browsers and web servers.
